Here are the best phones for gaming

In the last several months, companies have released a surge of phones focused on giving the best gaming experience. It makes sense — more and more mobile games are pushing the envelope in graphics, gameplay, and features. But what are the best phones for gaming right now?
Editor’s Pick

In this article, we take a look at these new gaming phones, which have high-end hardware specs and special features made just for gaming. We also take a brief look at more conventional phones that still offer excellent performance and features for gaming.
Razer Phone

Razer has already been highly successful with its wide range of gaming hardware and accessories. Now the company’s decided to make a gaming and entertainment oriented smartphone, simply called the Razer Phone. It’s arguably the device that started this current gaming phone trend.
Its 8GB of RAM shows you Razer wants to make gaming on a phone smoother and better than on a normal device. The Razer Phone includes a big 5.7-inch display with a 120Ghz refresh rate. That feature can be combined with the phone’s other major feature, Ultra Motion, which syncs up its GPU with the high refresh rate, allowing games made for the phone to have silky smooth framerates with little to no lag or screen tearing.
Editor’s Pick
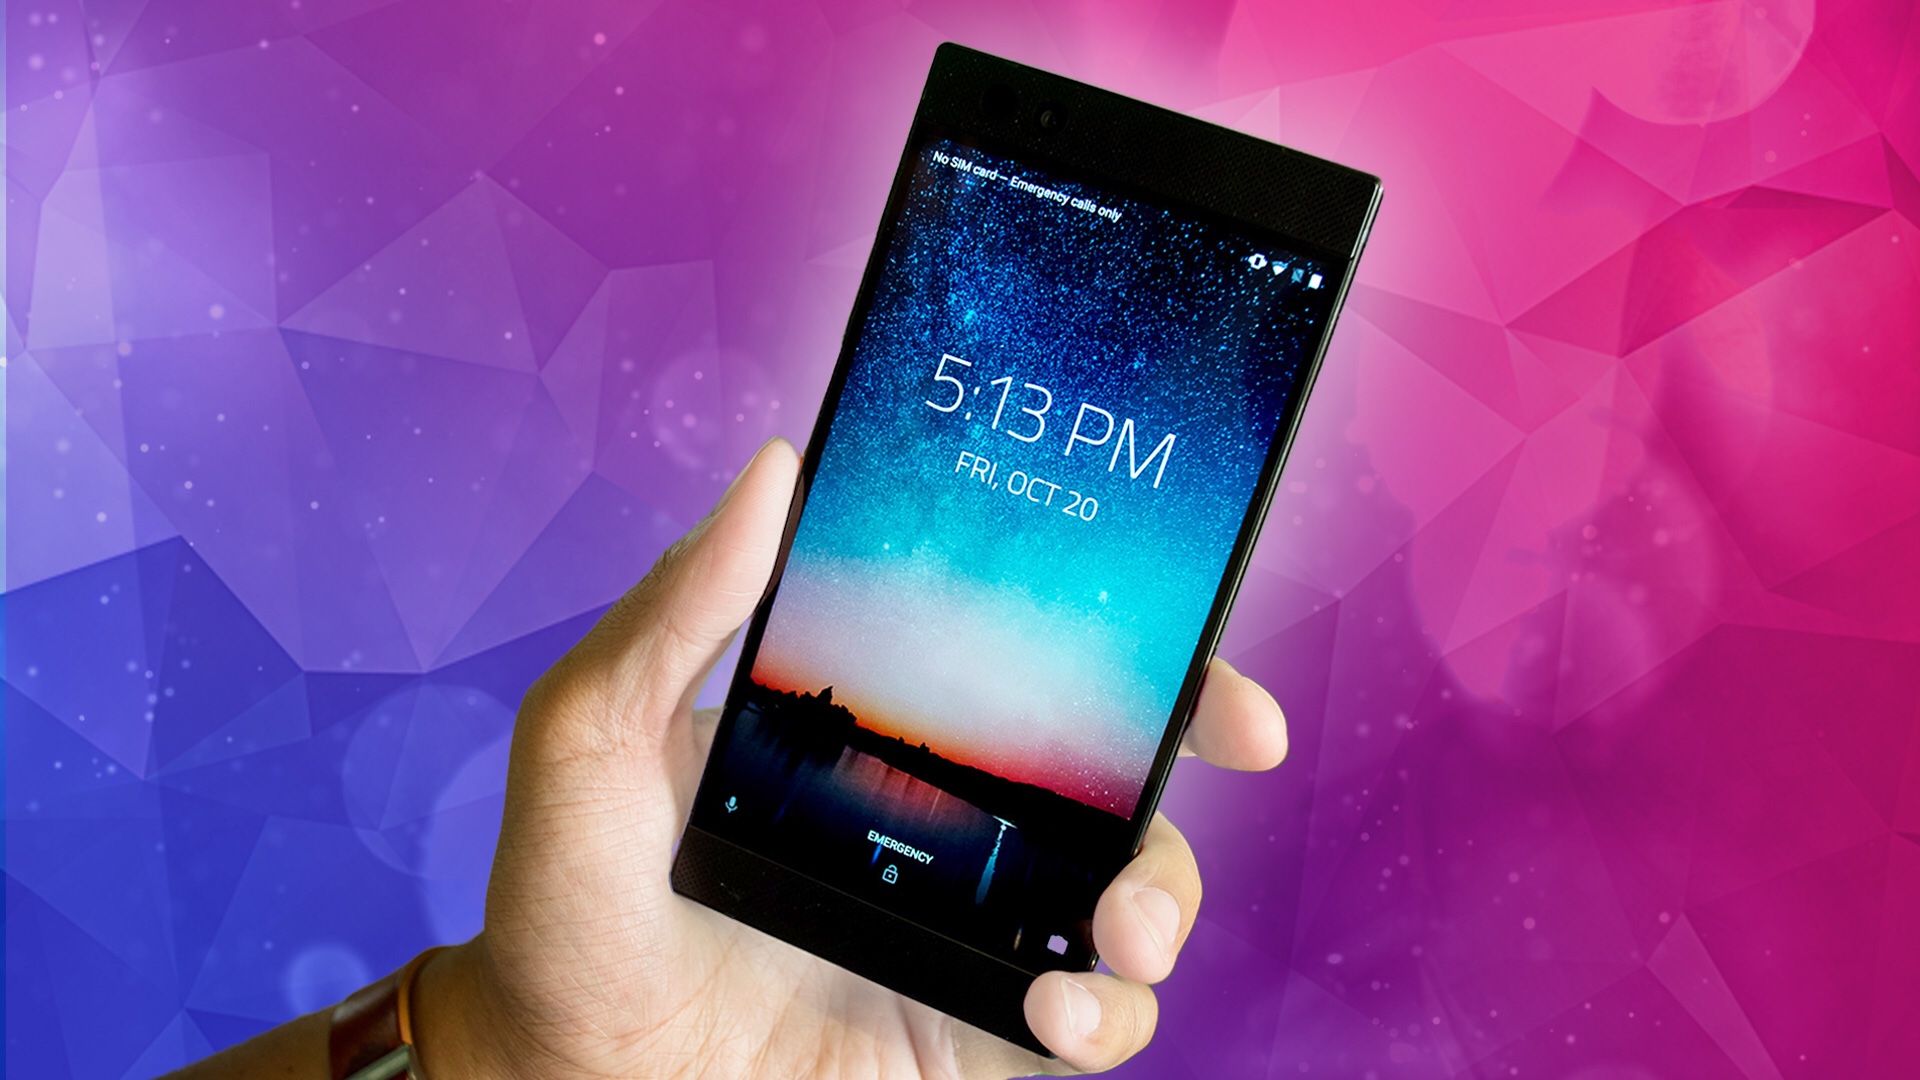
Besides the display features, the Razer Phone also has a big 4,000mAh battery, the Qualcomm Snapdragon 835 processor, loud twin front speakers with Dolby Atmos support, and more. While other gaming phones have since been announced or revealed with even more features, the Razer phone is still a highly impressive phone. You can purchase it now from Razer unlocked for $599.99.
Specs
- 5.7-inch LED display with 1,440 x 2,560 resolution
- Qualcomm Snapdragon 835 processor
- 8GB of RAM
- 64GB of onboard storage, MicroSD slot available
- Dual 12MP rear cameras, 8MP front camera
- Non-removable 4,000mAh battery
- Android 7.1.1 Nougat (Update to Android 8.0 Oreo)
- 158.5 x 77.7 x 8 mm, 197 g
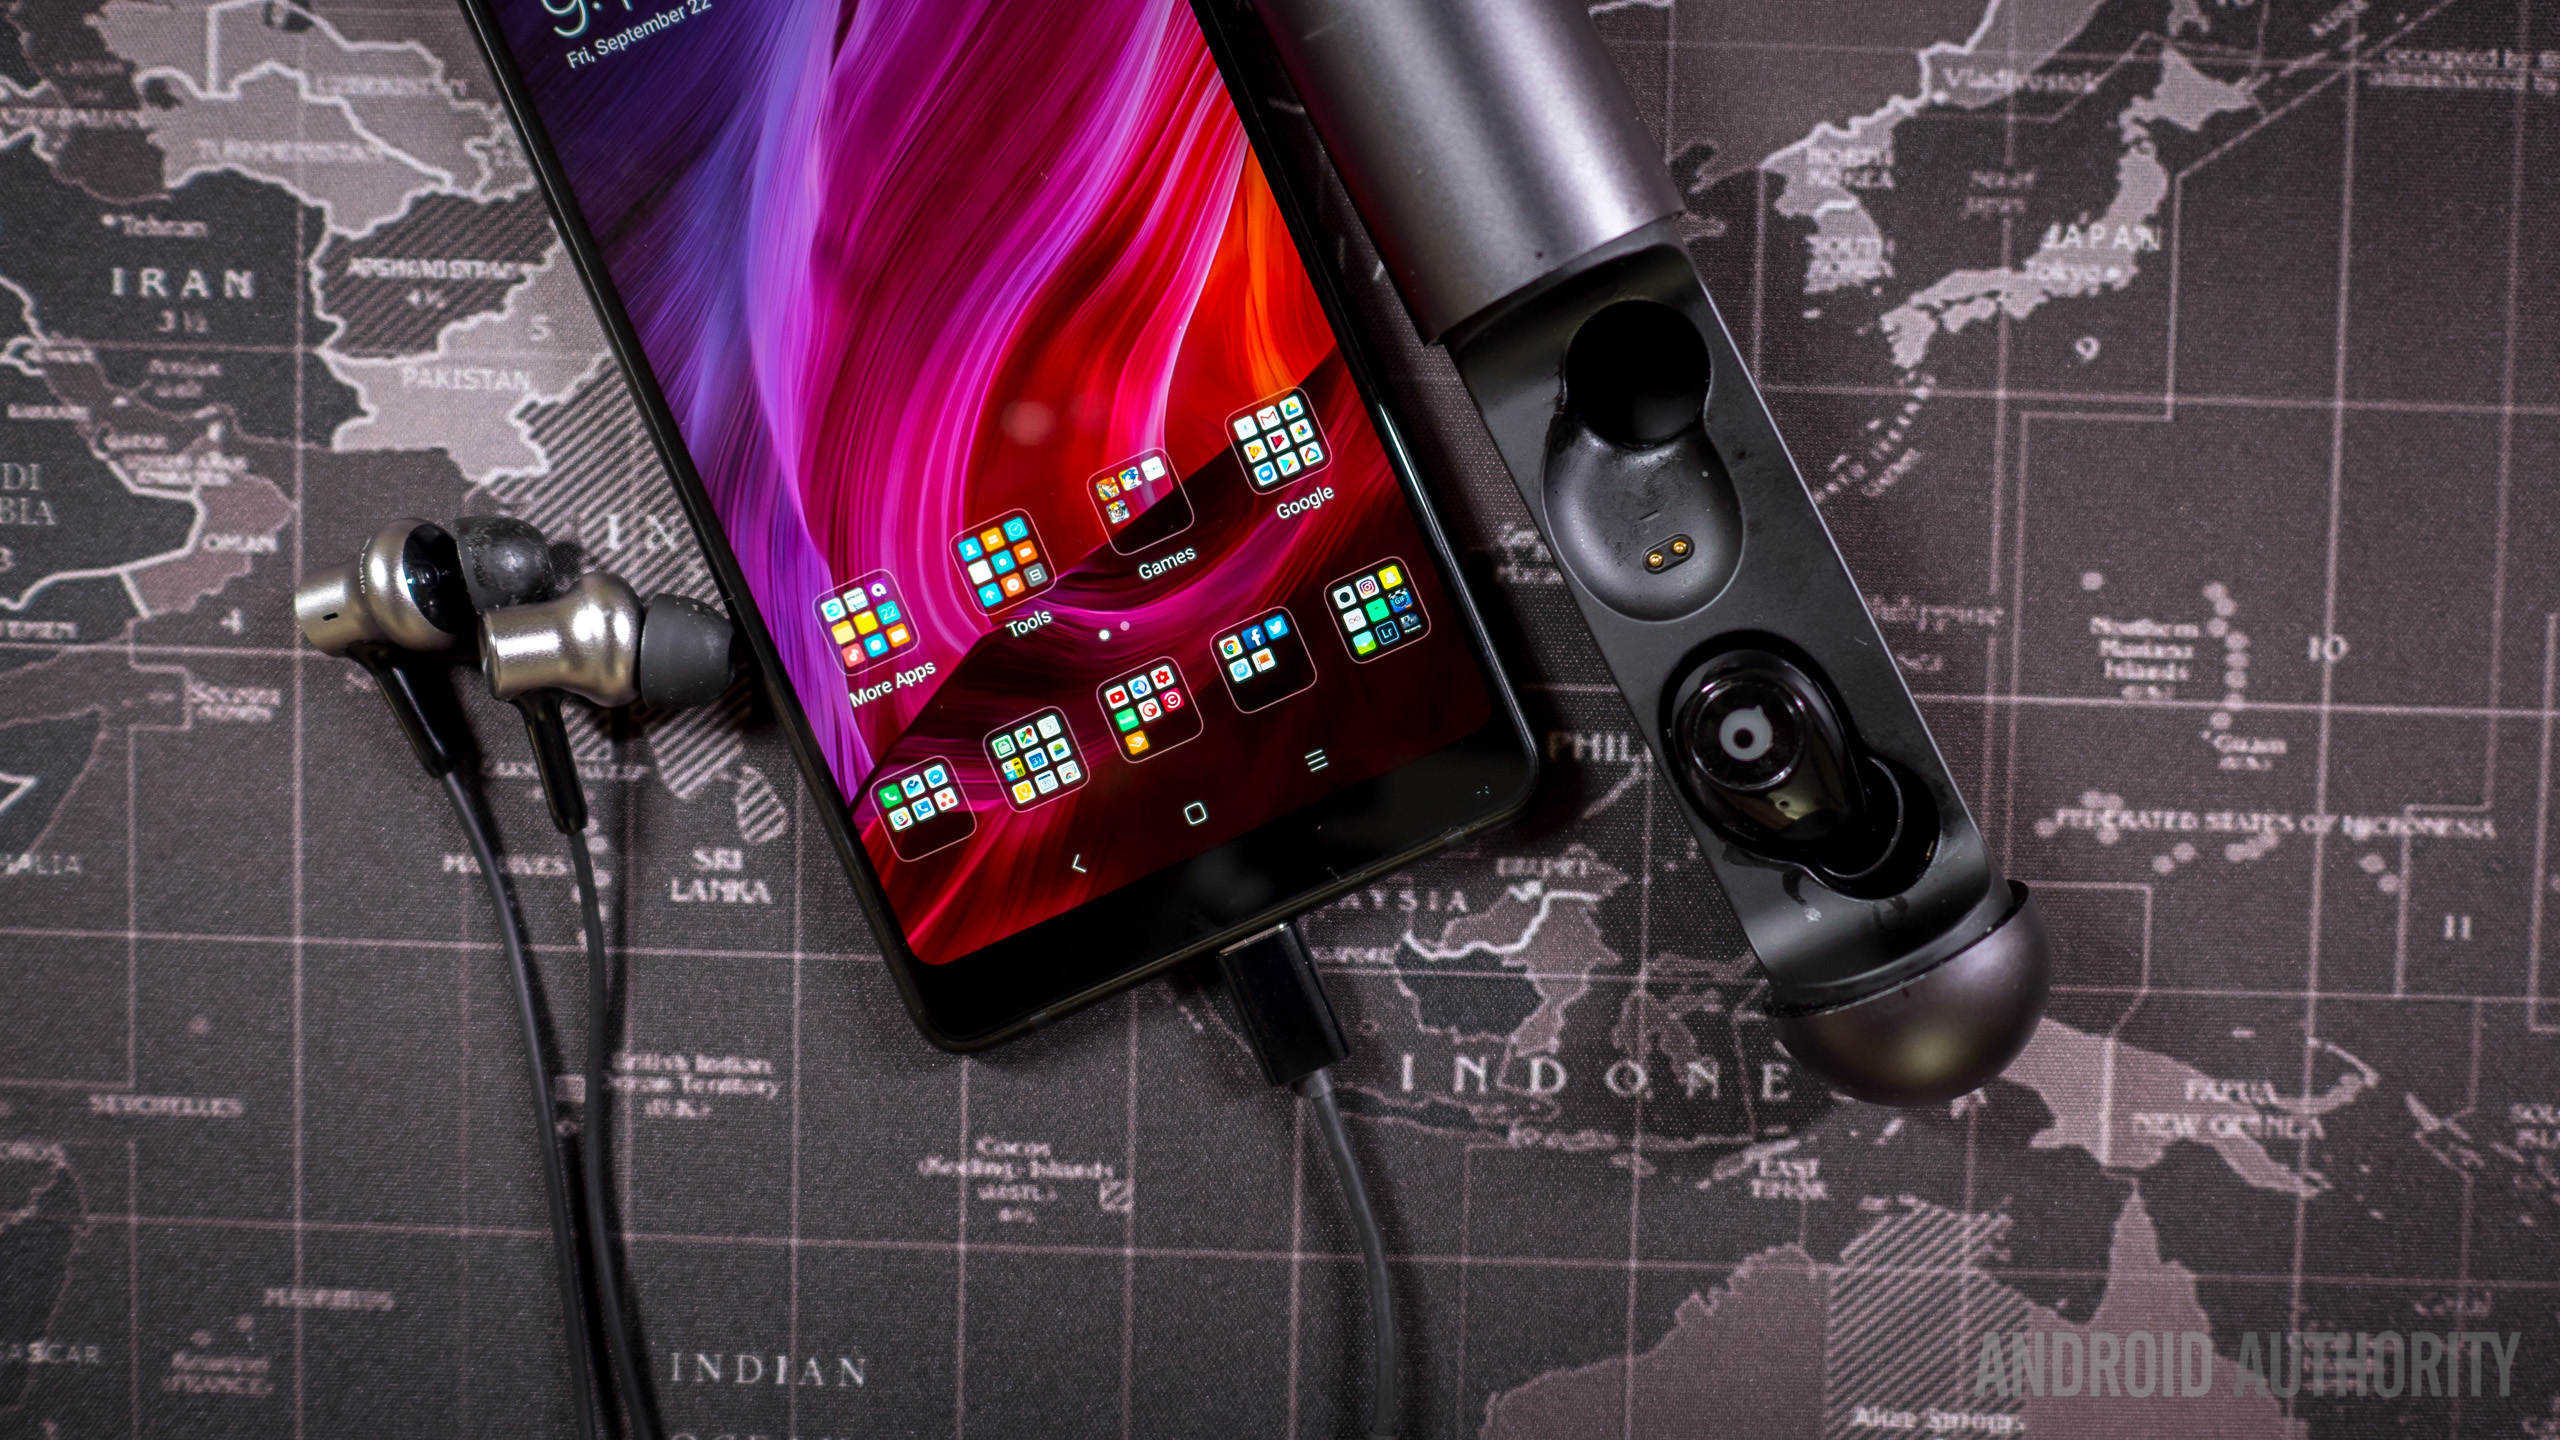
Xiaomi Black Shark

Chinese phone company Xiaomi launched its own phone for gaming in April 2018 with the Black Shark, though at the moment it’s only available in China. It has a big 6-inch, 2,160 x 1,080 resolution display with an 18:9 aspect ratio. Inside, you will find a Qualcomm Snapdragon 845 chipset and a beefy 4,000mAh battery, which supports Quick Charge 3.0. It includes a 12MP and 20MP dual camera setup, with a 20MP front-facing camera. It’s available with either 6GB or 8GB of RAM, and either 64GB or 128GB of storage.
The design of the Xiaomi Black Shark itself looks like what would happen if you shrunk a gaming laptop design down to a smartphone size. In fact, the phone has a PC-like integrated cooling system to avoid overheating during long gaming sessions. It also has a special “Shark Key” that pushes the Black Shark into a high-performance mode. Xiaomi is also selling an optional one-sided gamepad that attaches to the device and is good for around 30 hours.
As we said, the Xiaomi Black Shark is only on sale in China, but the price in that part of the world is pretty low for a gaming smartphone with these features. You can snap the 6GB of RAM and 64GB storage version up for just $479, while the version with 8GB of RAM and 128GB of storage will run you $559. Hopefully, the company will expand into other markets around the world.
Specs
- 6-inch display IPS LED display with 2,160 x 1,080 resolution
- Qualcomm Snapdragon 845 processor
- 6 or 8GB of RAM
- 64 or 128GB of onboard storage, no expansion slot
- Dual 12MP and 20MP rear cameras, 20 MP front camera
- Non-removable 4,000mAh battery
- Android 8.0 Oreo
- 161.6 x 75.4 x 9.3mm, 190g
Nubia Red Magic
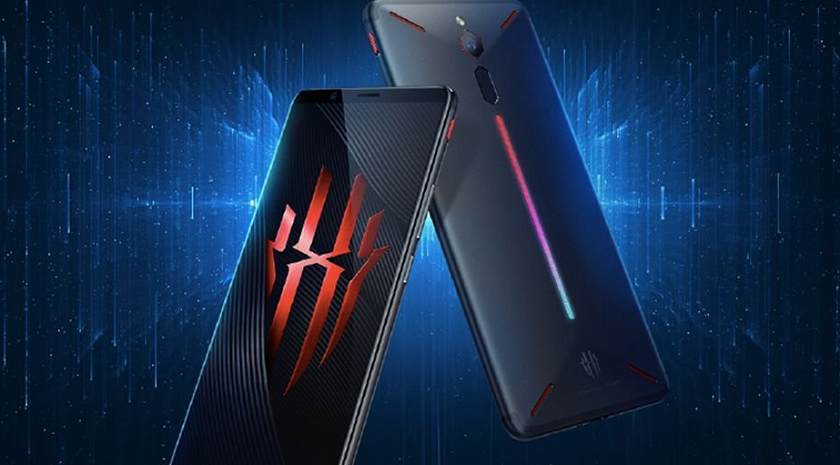
Yet another Chinese phone maker, Nubia (a subsidiary of ZTE) introduced its own phone for gaming in April, called the Nubia Red Magic. The first thing you may notice about it is its angled rear design, which definitely gives it a rather slick and unique look. The back also includes a horizonal RGB LED light that can be customized to show up in 16 million color variations. Nubia claims the angled back also helps in cooling the phone, since it has more surface area, along with three rear cooling ports.
Like the Black Shark, the Red Magic has a 6-inch display with an 18:9 aspect ratio. There’s also a hardware button on the Red Magic, which Nubia calls Gameboost, that is supposed improve performance while gaming. However, the Red Magic packs in a smaller 3,800mAh battery, and the older Snapdragon 835 processor. It also has just a single rear camera, which is still pretty large at 24MP, along with 8GB of RAM and 128GB of storage.
Nubia decided to sell the Red Magic via Indiegogo, and it recently ended sales of the phone, which it priced at $399. Nubia plans to ship the phone starting in June. A limited number of units were sold to North America for “testing” and those folks are supposed to be able to trade that version in for the real North American version of the Red Magic when it goes on sale later this fall (assuming ZTE is able to get back up and running fully, though signs look good).
Specs
- 6-inch display Full HD+ 1,080 x 2,160 display
- Qualcomm Snapdragon 835 processor
- 8GB of RAM
- 128GB of onboard storage
- 24MP rear cameras, 8MP front camera
- Non-removable 3,800mAh battery
- Android 8.1 Oreo
- 158.1 x74.9 x9.5 mm, 185 g
Asus ROG Phone (Upcoming)

After hinting at it for months, Asus announced its entry into the gaming smartphone market in June with the ROG Phone. Asus is wisely using its well known Republic of Gamers (ROG) PC brand and it already looks like the most feature-rich device for this market niche yet.
The Asus ROG Phone will have the Qualcomm Snapdragon 845 chipset inside, but with a clock speed boost to 2.96Ghz (the normal speed for the processor is 2.8Ghz). It will have a 6-inch AMOLED 2,160 x 1,080 display with a 90Hz refresh rate. While that’s higher than the normal 60Hz rate on most phones, it doesn’t match the 120Hz rate on the older Razer Phone. It will be sold with 8GB of RAM, either 128GB or 512GB of onboard storage and a 4,000mAh battery. Look for a dual 12MP and 8MP rear camera setup on this gaming phone, along with an 8MP front-facing camera and dual speakers on the front.
The phone will also have some interesting hardware features tailored to the hardcore gamer. It will have three AirTrigger ultrasonic touch sensors to serve as shoulder triggers when holding the phone in landscape fashion. In addition to its USB Type-C port on the bottom, the Asus ROG phone will have an extra USB Type-C port on the side, so you can connect the phone up to an optional WiGig gaming dock. Finally, there will be an X Mode, activated by squeezing the sides of the ROG Phone, to increase the hardware performance of the phone.

Along with the ROG Phone, Asus plans to sell a number of optional accessories made just for this device. The previously mentioned WiGig dock can connect the phone to an external display, or a mouse and keyboard to play games or do other things like on a PC. Another accesory is an AeroActive Cooler for keeping the phone nice and cool during long gaming sessions. Asus will also sell a third-party controller for the phone made by GameVice that will add analog sticks, shoulder buttons, and other keys on each side of the ROG Phone.
Finally, Asus will sell the TwinView handheld dock, adding a secondary display to let you either play a game with more screen real estate or launch a second app to chat with friends while playing a game. The TwinView will also come with its own 6,000mAh battery. The Asus ROG Phone goes on sale in Q3 2018. Pricing for the phone and its many accessories, has yet to be revealed. We would expect to pay a bit more for an overlocked phone for gaming like this.
Specs
- 6-inch display AMOLED 1,080 x 2,160 display
- Qualcomm Snapdragon 845 processor
- 8GB of RAM
- 128 or 512GB of onboard storage
- 12MP and 8MP rear cameras, 8MP front camera
- Non-removable 4,000mAh battery
- Android 8.1 Oreo
- 158.8 x 76.2 x 8.6mm, 200g
Wonder (Upcoming)

Mysterious startup Wonder made its public debut a couple of years ago, and recently it began revealing details for its own phone for gaming. It will be an Android phone running a skin called WonderOS. This UI will let the phone’s processor be overclocked so it can output its display to a larger screen, like a TV. The phone will come with a dock and controller for this, but Wonder won’t actually make the device. It is in talks with a number of unnamed Android OEMs to make handsets with the WonderOS in mind.
Who knows if this will work. At the moment, the first phone with WonderOS might not launch until 2019 at the earlier. However, turning a mobile device into a game console has certainly worked for the Nintendo Switch. It’s possible this setup could work for Android as well.
Current mainstream smartphones that are great for gaming

More and more gaming phones are entering the marketplace, but there are still plenty of phones on the market already great for high-end gaming. The Samsung Galaxy S9 and S9 Plus have excellent 5.8- and 6.2-inch Quad HD+ Super AMOLED displays, along with the Snapdragon 845 processor, and will handle just about anything you throw at them. Even the older Galaxy Note 8 is a great option, with its impressive 6.3-inch QuadHD+ Infinity Display.
All of these Samsung phones have what the company calls Game Tools. The feature lets users play games in Full Screen mode, which fills the entire edge-to-edge display, instead of seeing them in letterboxed mode. You can also still quickly take screenshots or record gameplay on the phone along with a way to temporarily disable the phones’ digital home button and cuts off any notifications from showing up on your screen in the middle of gameplay.

The Moto Z family of phones are also great for gaming, with optional Moto Mods that attach to the back of those devices. Motorola launched a gamepad Moto Mod for those phones in mid-2017. Connecting it up places control sticks on either side of the phone. It also has a D-pad and four tactile action buttons, and its own 1,035 mAh battery that is supposed to offer even more gaming time for any Moto Z phone.
Here’s a quick list of our recommendations of mainsteam phones that are also great for gaming:
- Samsung Galaxy S9 and S9 Plus
- Samsung Galaxy Note 8
- OnePlus 6
- Moto Z2 Force
- Moto Z2 Play
- Honor 7x
- Huawei P20 Pro
Best phones for gaming – Conclusion
Those are our picks for the best phones for gaming. We’ll keep an eye out for more hardcore gaming phones in the months ahead and update this post accordingly. In the meantime, are you planning to purchase one of these gaming phones?
Source: Android Zone
The post Here are the best phones for gaming appeared first on TuneMaster.ml.
How to Install WordPress on Amazon Web Services
Recently one of our readers asked us to cover how to install WordPress on Amazon Web Services (AWS). Often reserved for larger projects, Amazon Web Services is a powerful cloud computing platform that allows anyone to harness the power of Amazon’s superior infrastructure on a pay as you go basis. In this article, we will show you how to install WordPress on Amazon Web Services.

Note: If you are just starting a website, then we recommend using one of the easier solutions from our how to install WordPress guide.
We have split this article in two methods. The first method is a manual process that is very technical and complicated. The second method is an easier solution for beginners because it allows you to use AWS infrastructure by going through a preferred managed WordPress hosting solution.
Method 1. Creating a Custom WordPress Install on AWS
First thing you need to do is visit the Amazon Web Services website. You can create a free account, but you will need to enter credit card information. Amazon will verify your identity by sending a $1 charge to your card.
Once your account is verified, you need to login to your AWS console and click on the ‘Services’ menu. Under the compute section, you need to select EC2 to continue.

EC2 is AWS’s cloud computing platform that allows you to create virtual machines and run web apps like WordPress. For more details on what’s a virtual machine, read our guide on what is a VPS and do you need it.
Next, click on the ‘Launch Instance’ button to launch and configure your instance settings.

You will need to select an Amazon Machine Image. These are pre-configured software stacks that you can install with a single click.
Under the ‘AWS Marketplace’ search for WordPress and then select ‘WordPress by Bitnami’.

You will now see a pricing popup where you simply need to click on the continue button.
On the next screen, you will be asked to choose an instance type. You can go ahead and select td.micro free tier and then click on ‘Configure instance details’ button.

On the next screen, you don’t need to change anything. Simply click on ‘Next: Add Storage’ and then click ‘Next: Add Tags’ buttons.
Now we will enter a name for this instance as a tag. Click on the Add Tag button and enter ‘Name’ as key, and ‘MyWordPress’ as value.

Click on the ‘Review and launch’ button to continue.
You will now be presented with an overview of your EC2 Instance configuration. Click on the ‘Launch’ button to start your instance.

Next, you will be asked to select pair keys. You need to select ‘Proceed without a key pair’ and then check the box below it.

After that click on the launch instances button to store your settings and launch your EC2 instance.
AWS will now show a success message. Click on the ‘View Instances’ button at the bottom right corner of the screen.
You will now be able to see your WordPress instance running.

To test your WordPress site, you need to locate its public IP address. You can find it under IPV4 Public IP column next to your instance.

You can now copy this IP address and enter it in the address bar of a new browser tab to view your website. You will be able to see your WordPress site with the default theme.

To visit your WordPress admin area, simply add /wp-admin/ next to your site’s public IP address, like this:
http://18.191.114.246/wp-admin
You will now see the default WordPress login page.

However, you will need to know the username and password to access the admin area.
You can get that by going back to your EC2 Console and clicking on the ‘Actions’ button and then select Instance Settings » Get System Log.
This will bring up a log file in a popup window with lots of text. You will need to scroll down towards the bottom, and you will find a line with ‘Setting Bitnami user password to’ surrounded by ## signs. You will also see the default username set by the app.

You can now copy the username / password and enter it on the login screen of your WordPress site.
Congratulations, you have successfully installed WordPress on Amazon Web Services. However, your website is still only accessible by using the IP address.
If you want to point a domain name to your AWS WordPress install, then you will need to connect your domain name to AWS’s DNS servers.
See our step by step guide on how to register a domain name.
Once you have registered your domain name, you’re ready to add it to your AWS instance.
Add a Domain Name to Your WordPress Site on Amazon Web Services
First, go to your EC2 instances dashboard and then from the left column click on ‘Elastic IPS’ under ‘Network & Security’ section.

Next, click on the ‘Allocate New Address’ button to continue.
You will be asked how do you want to use the IP address. Simply click on the Allocate button to continue.
AWS will now create a new elastic IP for your WordPress EC2 instance. You will see your IP address listed in a table. Simply select the IP address row and then select ‘Associate Address’ under the ‘Actions’ button.

On the next screen, select your WordPress instance from the drop-down menu and click on the Associate button.

You will now see your Elastic IP listed in the table. Go ahead and copy the IP address and paste it into a text editor like Notepad. We will need it in the next step.

Next, you need to click on the ‘Services’ menu at the top and search for ‘Route53′. This is Amazon web services’ DNS management service that allows you to route traffic to your EC2 instance.

On the next page, click on the ‘Get Started Now’ button under the DNS management section.

This will bring you to hosted zones section. Go ahead and click on the ‘Create hosted zone’ button.

Next, you need to add your domain name and click on the create button to add it to a hosted zone.

After you have added your domain to a hosted zone, click on the ‘Create Record Set’ button. Now you need to enter www next to ‘Name’ field. Enter the elastic IP you copied earlier in the ‘Value’ field and then click on create button.

The A record will now be added to your hosted zone along with your domain name. From the left column, you need to copy the lines under NS field. These are Nameserver addresses that you will need in the next step.
Now you need to go to your domain name registrar website and edit your domain name settings. The screenshots below may vary from your provider, but the basic instructions are similar for each provider.
Under your domain’s DNS Nameservers settings, enter the nameserver addresses you copied earlier.

Don’t forget to save your changes. You can now visit the domain name you added and it will take you to your WordPress site on Amazon Web Services.
Note: DNS changes may take some time to take effect.
Method 2. Using Amazon Web Services via Managed WordPress Hosting
As you may have noticed that setting up a custom WordPress install on Amazon web services is a very technical and complicated process.
The cloud computing infrastructure provided by Amazon Web Services is a pay as you go solution. This means that traffic spikes will increase your hosting bill significantly. Not to mention, that you will still be responsible for managing your own services which is just extra work.
An easier way to use WordPress on Amazon Web Services without any hassle is by using a managed WordPress hosting provider.
We recommend using WP Engine. They run part of their hosting platform on the AWS infrastructure, and you don’t have to worry about traffic spikes, server management, or WordPress maintenance.
Another great alternative is Pagely, a premium managed WordPress hosting provider. They also run their platform on Amazon Web Services and offer a hassle-free, WordPress environment to grow your business.
We hope this article helped you learn how to install WordPress on Amazon Web Services. You may also want to see our ultimate guide on improving WordPress speed and performance with step by step instructions.
If you liked this article, then please subscribe to our YouTube Channel for WordPress video tutorials. You can also find us on Twitter and Facebook.
The post How to Install WordPress on Amazon Web Services appeared first on WPBeginner.
Source: Wordpres
The post How to Install WordPress on Amazon Web Services appeared first on TuneMaster.ml.
Subscribe to:
Posts (Atom)