HMD Global’s budget Android One smartphone, Nokia 3.1, launches in India

Nokia 3.1 smartphone

HMD Global has announced the launch of Nokia 3.1 in India. Nokia 3 has been the most successful model in the line-up of Nokia smartphones and the Nokia 3.1 is the latest iteration of the device.

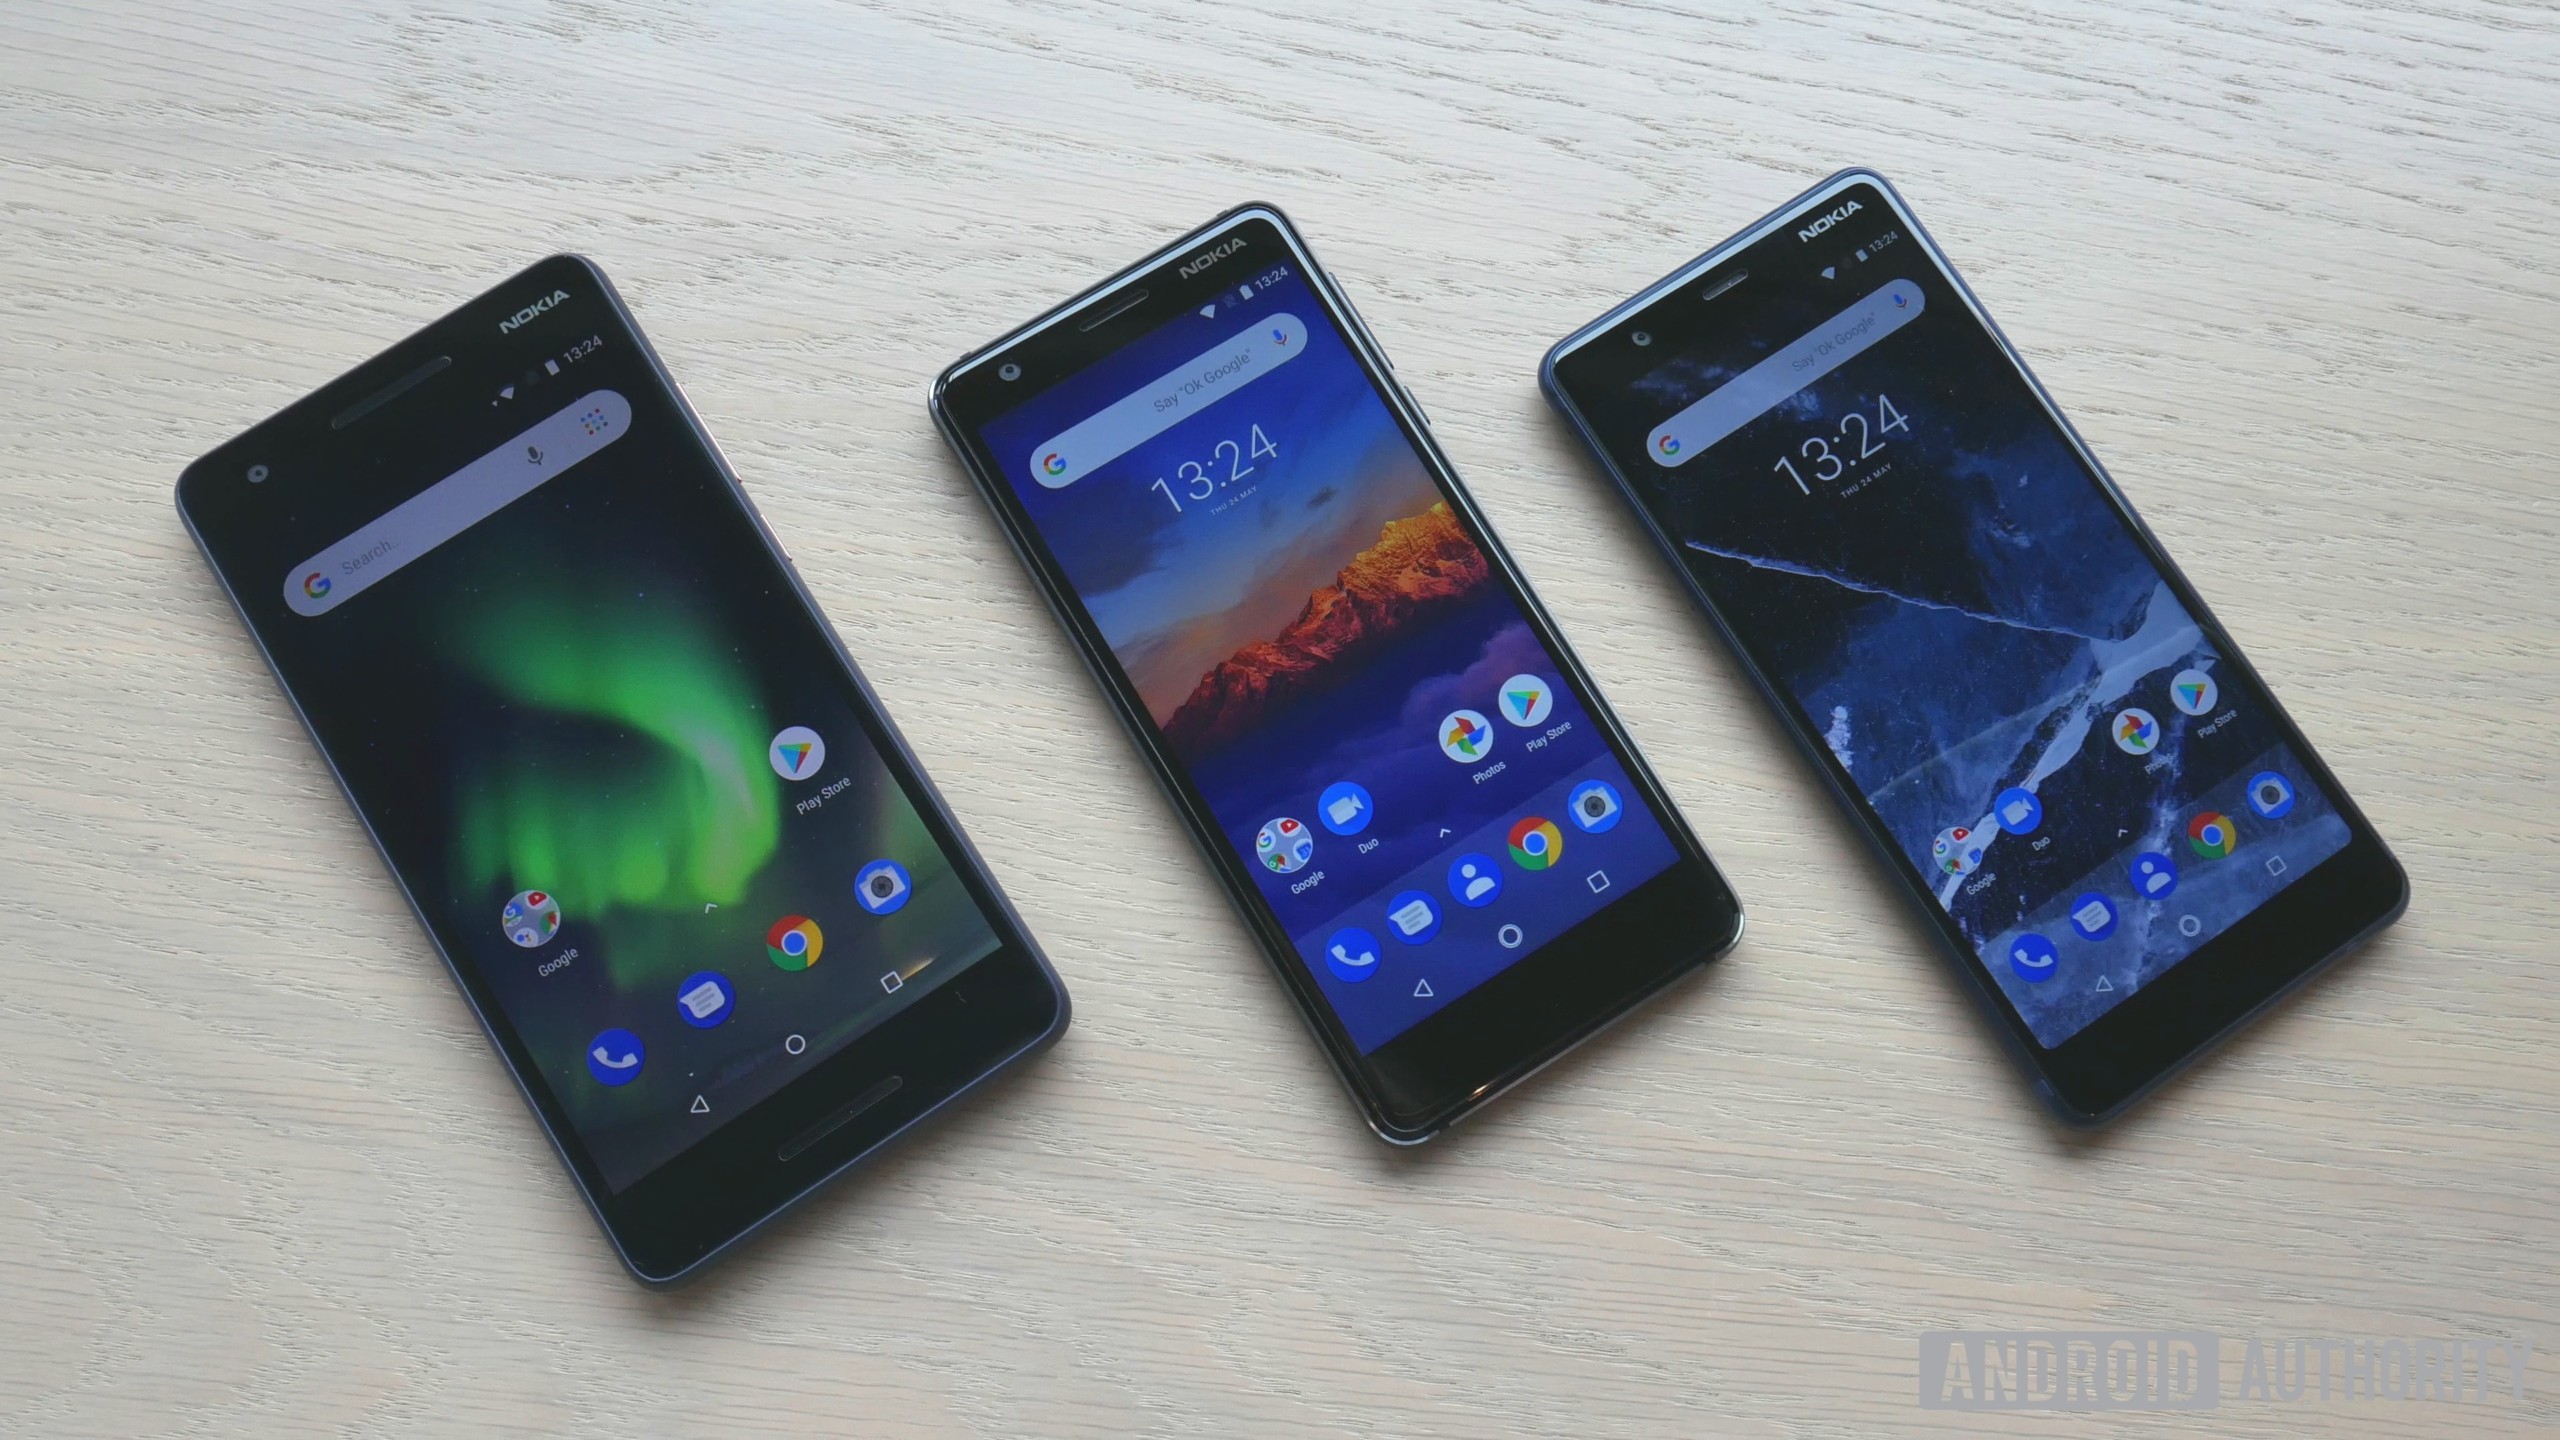
Like the Nokia 8 Sirocco, Nokia 7 plus, and Nokia 6.1, the new Nokia 3.1 joins the Android One family, delivering a pure, secure, and up-to-date Android experience. Nokia 3.1 is ready for Android P and will receive three years of monthly security patches and two years of OS updates from launch, as guaranteed in the Android One programme.

Editor’s Pick

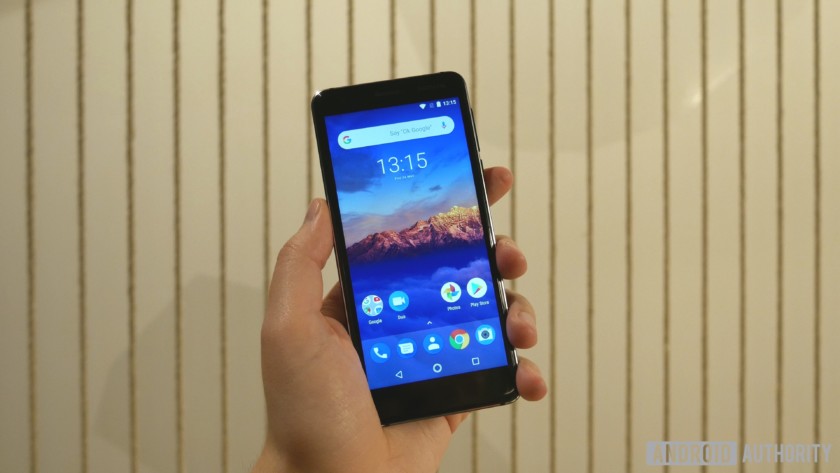
It sports a curved screen with Corning Gorilla Glass that melts into the slim CNC’d aluminium sides with a dual diamond cut. The 5.2-inch display with 18:9 aspect ratio makes for a compact and ergonomic smartphone.

Nokia 3.1 Specifications

  • Operating System: Android 8.1 Oreo | Upgradable to Android P
  • Display: 5.2-inch HD+ (720 x 1440) | 18:9 aspect ratio | Gorilla Glass
  • Processor: Octa-core MediaTek 6750 | Mali T860 GPU
  • RAM: 2GB
  • Storage: 16GB; expandable up to 128GB with microSD
  • Rear Camera: 13MP auto-focus with LED flash | f/2.0 aperture
  • Front Camera: 8MP | f/2.0 aperture | 84.6-degree wide-angle lens
  • Battery: 2990mAh
  • Dimensions: 146.25 x 68.65 x 8.7mm
  • Weight: 138.3g

Nokia 3.1 smartphone

The new Nokia 3.1 comes in three color variants – Blue/Copper, Black/Chrome, and White/Iron – and goes on sale from July 21 at a recommended best buy price of ₹10,499 ($152). The phone will be available across top mobile retailers and online on nokia.com/phones as well as Paytm Mall.

Nokia 3.1 packs in modest specifications but claims to offer a well-rounded Android experience in a well-crafted chassis. What are your thoughts on the new Nokia 3.1 and would you like to pick one up? Tell us in the comments!

Source: Android Zone

The post HMD Global’s budget Android One smartphone, Nokia 3.1, launches in India appeared first on TuneMaster.ml.

The Samsung Galaxy S9 just made history, but not in a good way

  • The Samsung Galaxy S9 shipped nine million units in Q2, one million less than in Q1.
  • This is the first time in the history of the Galaxy S line that Q2 shipments are lower than Q1.
  • These numbers represent further evidence that the Galaxy S line is in trouble.

Korean news site The Bell published some shipment numbers related to the Samsung Galaxy S9 and Galaxy S9 Plus. According to the report, the second quarter shipment numbers for the Galaxy S9 are lower than the previous quarter.

That has never happened before in the history of the Galaxy S line, which is going on eight years now.

Specifically, Samsung shipped around ten million Galaxy S9s in Q1 of 2018 and then only nine million units in Q2. Historically, Samsung ships more units of Galaxy S devices in the second quarter than the first, which makes sense because Galaxy S phones don’t even launch until the end of the first quarter.

Editor’s Pick

If these numbers are accurate, that means that the Galaxy S9 had a terrific start but is proving to have poor staying power. This backs up earlier claims from industry analysts, which we wrote about at the beginning of July.

So far, Samsung’s only official statement on the performance of the Galaxy S9 is this:

Samsung’s smartphone shipments increased QoQ due to an early release of the Galaxy S9 and S9 Plus as well as solid sales of the Galaxy S8. As a result of increased sales, mainly driven by premium models, revenue and profit significantly increased both QoQ and YoY.

However, it also pointed out that sales will be lower in the second quarter:

[In Q2]…Samsung expects earnings to decrease QoQ due to a slowdown in sales of its flagship models and increased marketing expenses to address the situation.

In other words, Samsung sees the writing on the wall, but doesn’t give any specific reason for why the S9 isn’t performing as well, other than “rising competition in the high-end segment.” That’s likely true, but the Galaxy S line is the king daddy of all Android smartphones; surely the blame can’t only be levied at the feet of competition.

The Samsung Galaxy Note 9 is launching on August 9, weeks earlier than previous models. It’s not hard to imagine Samsung hoping to recoup some of its losses with the S9 by pushing the Note 9 out a little earlier. But with the Note 9 seeming more and more like a Note 8.1, will that be enough?

NEXT: Galaxy S9 killer: here’s what my perfect smartphone looks like

Source: Android Zone

The post The Samsung Galaxy S9 just made history, but not in a good way appeared first on TuneMaster.ml.

How to Import External Images in WordPress

Do you want to import external images in WordPress? If you have recently moved your website from one platform to another, then there is a good chance that you may have external images embedded on your pages. In this article, we will explain how to properly import those external images in WordPress.

How to import external images in WordPress

When and Why You Need to Import External Images?

External images are images embedded in your content that load from another website or URL different from your main site.

Most commonly, WordPress users come across external images issue after migrating their website from other platforms like Blogger, Weebly, Joomla, or WordPress.com.

By default if you use one of the WordPress importers, then it will try to import images. You can see the imported images by visiting Media » Library page in your WordPress admin area.

If you see that all your images are already there, but the post URL is linking to the old source, then you don’t need this article. Instead, you need to update URLs using Velvet Blues Update URLs plugin.

However if you don’t see images imported to your WordPress media library, then continue reading and we will show you how to import those external images.

Importing External Images in WordPress

First thing you need to do is to install and activate the Auto Upload Images plugin. For more details, see our step by step guide on how to install a WordPress plugin.

Upon activation, you need to visit Settings » Auto Upload Images page to review the plugin settings.

Auto upload images settings

The default settings would work for most users, but you can change them as needed.

The plugin will import images to your default WordPress media uploads folder. You can change that by providing a different base URL. Other than that, it also allows you to set filename, image alt tag, image size, and exclude post types.

Once you are done, don’t forget to click on the Save Changes button to store your settings.

Next, you will need to update the posts or pages containing the external images. Since this is a manual process, it can be tedious if you have a lot of content.

Luckily, there’s a quick way to update all posts with external images. Simply go to Posts » All Posts page and then click on the Screen Options button at the top.

Show more articles

You need to increase the number to 999 in the ‘Number of items per page field’ field and click on the Apply button.

WordPress will reload the page, and this time it will show 999 posts at a time. Next, you need to select all your posts and then select Edit under the bulk actions menu.

Select all your posts

After that you need to click the Apply button. WordPress will show you a quick edit box with all selected posts. You just need to click on the Update button, and WordPress will update all your posts.

Remember, don’t change any of the settings in the bulk edit settings that you see. You just need to click Update.

This process will trigger the plugin to check all selected posts and import external images as it finds them.

If you have more than 999 posts, then you will need to visit the next page to select remaining posts.

We hope this article helped you learn how to import external images in WordPress. You may also want to see our guide on how to fix common image issues in WordPress.

If you liked this article, then please subscribe to our YouTube Channel for WordPress video tutorials. You can also find us on Twitter and Facebook.

The post How to Import External Images in WordPress appeared first on WPBeginner.

Source: Wordpres

The post How to Import External Images in WordPress appeared first on TuneMaster.ml.